Editing basics
How to describe a photo edit
For a photo edit in FunnyBanana Create, start with your own photo and a request: what to keep, what to change, and what to check in the generated image.
Written · FunnyBanana · Updated
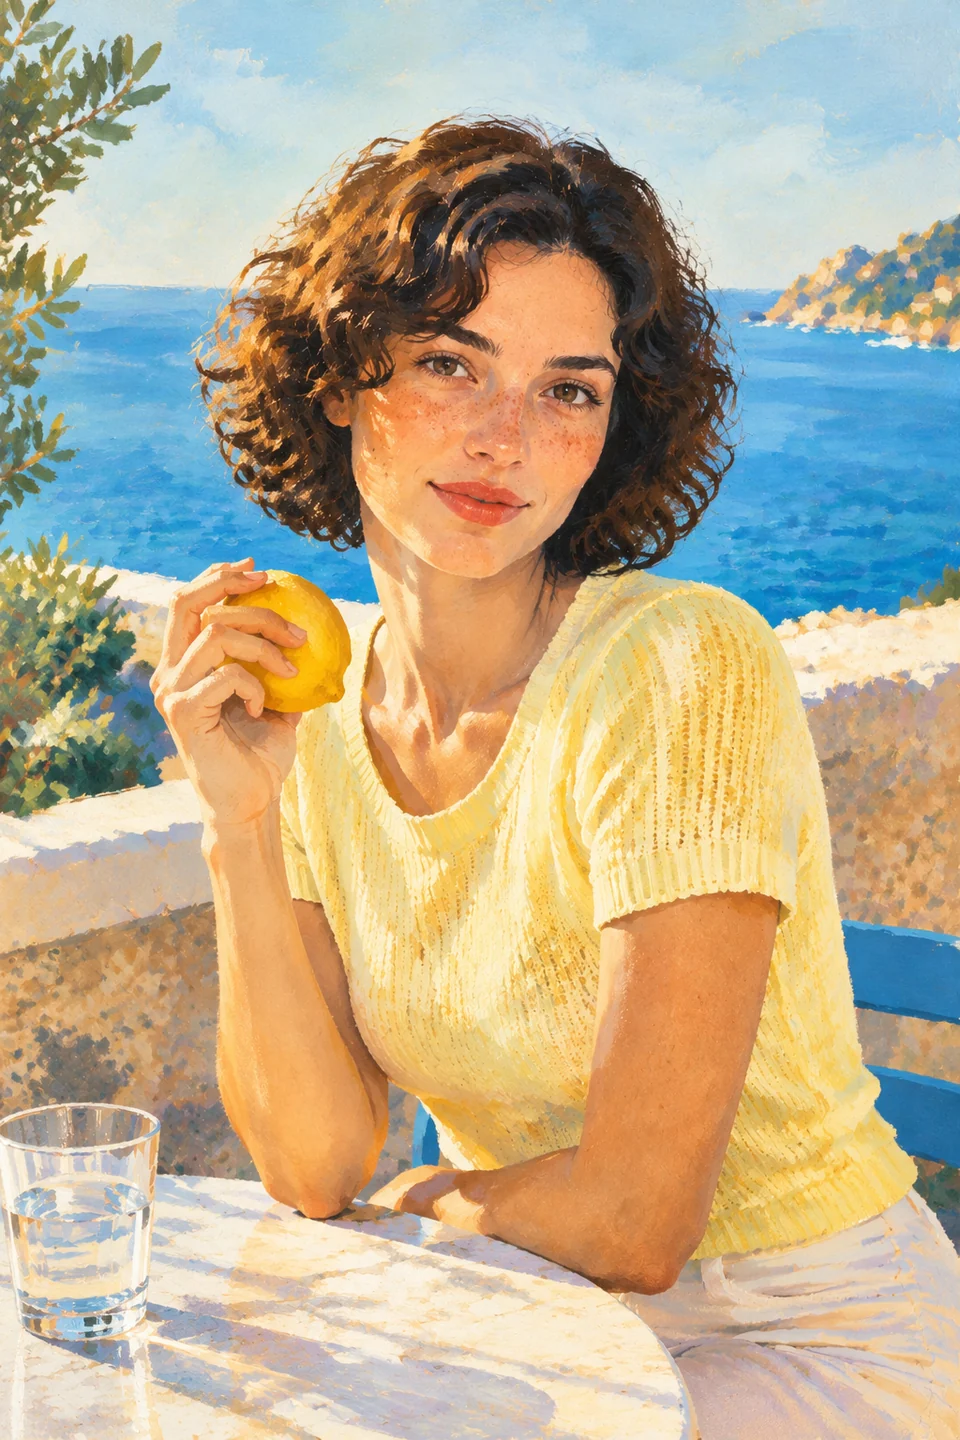
Photo editing in FunnyBanana: input, output, and limits
In FunnyBanana Create, the input for a photo edit is a photo you have permission to upload and a written description of the change. The output is an AI-generated image to review against your source. Describe what to keep and what to change; then check faces, hands, subject count, edges, and any text in the result.
This guide is original editorial guidance from FunnyBanana. Its example requests are text templates, not tested before-and-after pairs, and its illustration is AI-generated editorial artwork, not a documented before-and-after edit or a performance benchmark. Asking to preserve a face or detail does not guarantee that it will be preserved.
Try the request in Create
Use the following steps to turn your description into an edit. Check which image is loaded before starting.
- Open Create and choose Add your photo. Select one JPG, PNG, or WebP image up to 10 MB that you have permission to edit.
- In the description field (Describe the change on desktop; What would you change? on mobile), write what to keep and what to change. Include the whole request, not just a style name.
- Review Image shape before submitting. Original proportions use the closest supported shape. Sign in to create; new accounts start with 0 creations and need a paid plan to begin.
Start with a useful image
Choose an image in which the important subject is easy to see. A clear face, an unobstructed object, or a readable scene gives you a better basis for describing an edit than a tiny screenshot with several competing subjects. Use an image you have permission to upload and edit.
Before writing, identify what makes this particular picture worth keeping. It might be an expression, the relationship between two people, the angle of a chair, or the quiet space around a cat. These are more useful instructions than asking for the image to be simply better.
Use keep, change, and check
Keep names the parts you want to preserve. Change describes the new direction. Check is your own review of the result; it is not a command that makes an image system guarantee accuracy. Keeping these three ideas separate helps you notice whether the result solved your original problem.
Be specific about visible features. Keep the seated pose and the camera angle is clearer than keep everything important. Change the background to a quiet lakeside is clearer than make the place more beautiful. If the picture contains text or several people, make those details part of your review.
- Keep: subject, expression, pose, framing, or an important object.
- Change: one main direction, such as lighting, setting, or illustration style.
- Check: faces, hands, subject count, edges, and any readable text.
Describe light before adding a style label
Words such as cinematic or vintage leave room for many interpretations. Add the visible qualities you mean: warm window light, softer shadows, a muted background, or a small amount of film grain. You do not need camera jargon to explain the atmosphere you want.
Start with one main change when you want to compare the new image with your source. Changing the face, the setting, the clothes, and the light together makes it harder to tell which instruction caused an unwanted difference.
Make background and portrait requests concrete
For a background edit, describe where the subject should be and what the new setting should feel like. Mention whether the original camera angle should stay. Light, perspective, and the edge around the subject all affect whether the new setting feels coherent.
For a portrait, decide whether you want a new look or a new expression. If recognizability matters, state the features you want to keep and compare them with the source afterward. A request to keep a face does not establish that the output accurately represents that person.
Review the result, then make a focused revision
Look at the overall image first, then inspect the details that matter for its use. A picture for a profile needs a clear subject at a small size. A picture for a printed card needs a closer check of edges and lettering. Compare the result with the source when keeping a person or an object was part of the request.
After a successful image in Create, Try another edit returns to your original upload. Write a complete request for that source: keep the person, pose, framing, and original jacket color; use soft, even light and a pale blue studio background. Do not rely on a phrase such as keep the new lighting to carry over details from the previous result.
If you want to edit the generated version itself, download it, choose New image, and select that file as the new starting image. Check which image is loaded before submitting. A new successful edit uses another creation; failed, blocked or undeliverable images do not consume one. A beautiful image and a faithful edit are separate things to assess.
Product help for these steps
Questions about this idea
Do I need a long prompt?
No fixed length is necessary. A short request can be useful when it clearly names the subject, the change, and the details you want to keep. Add detail when it resolves an ambiguity.
Will asking to keep a face guarantee the same identity?
No. It expresses your intention. Check recognizability in the result and avoid treating an edited image as factual evidence about a person.
Put your idea into words.
Upload your own photo in Create, then describe what to keep and what to change.
Uses 1 creation when the image succeeds · Private by default
Bring your image · Explore portrait ideas