Photo restoration · Image play
AI old photo restoration for your family pictures
Use AI old photo restoration to create a new version of an existing family photograph. Upload a flat scan or a straight-on photo without glare, choose a damage level, and keep the original tones or request added color. Compare faces and repaired areas with the source before saving. AI may reconstruct details that are uncertain, so preserve the original photograph and treat added color as an interpretation.
Create yours
A flat scan or straight-on phone photo, no glare. Your upload stays private by default.
Best input:
A flat, glare-free scan or photo of the whole print, at the highest resolution you have.
One photo at a time; crop out the album page or frame.
Enable JavaScript to upload privately and create your image.
Old photo restoration examples and their limits
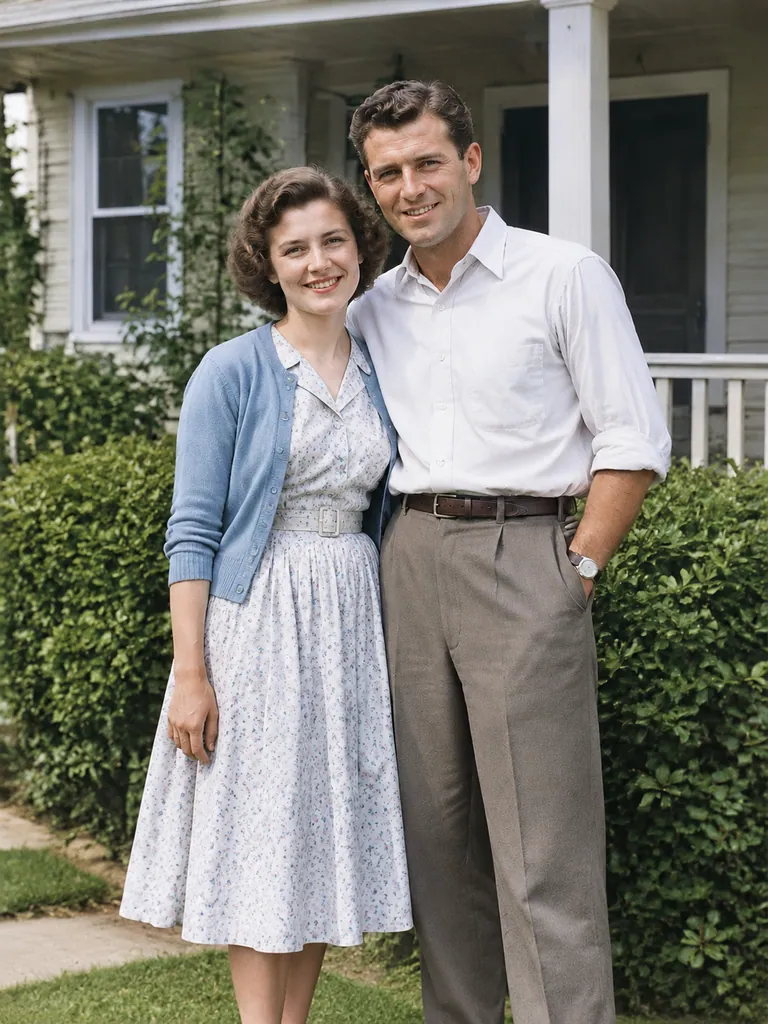
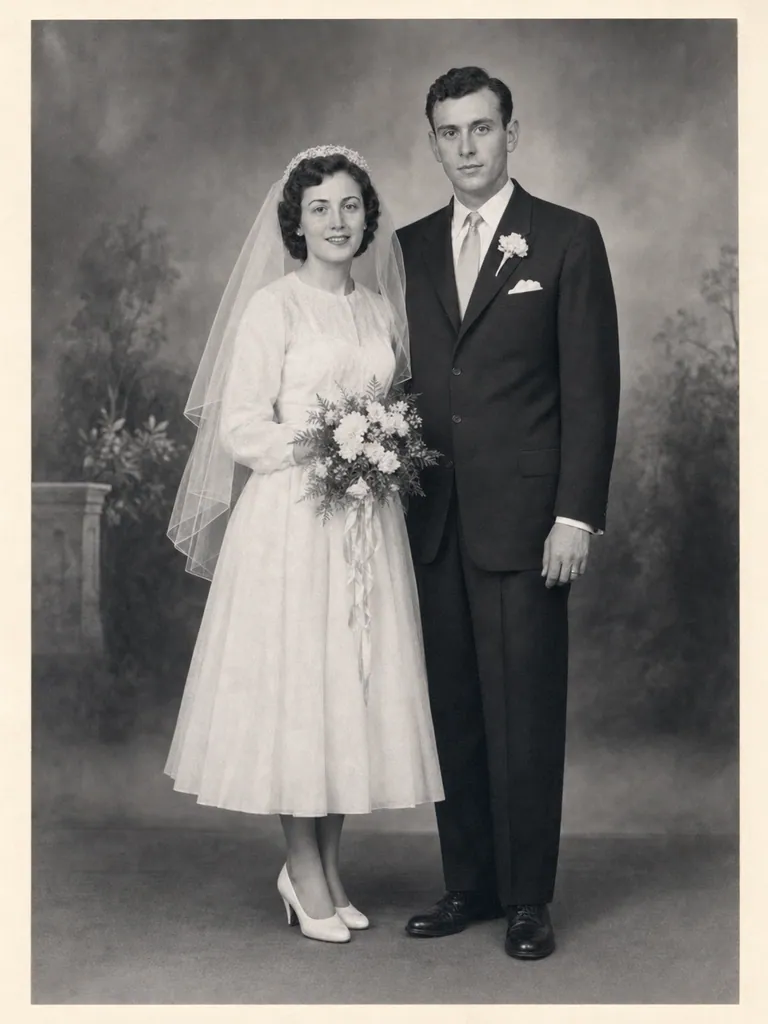
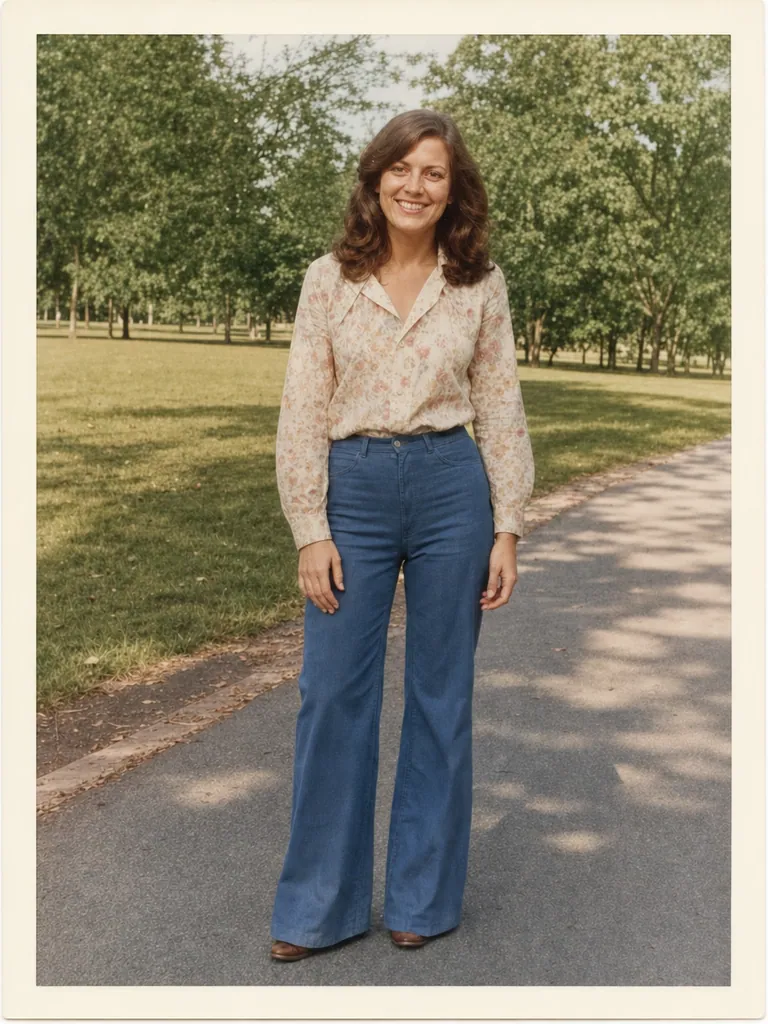
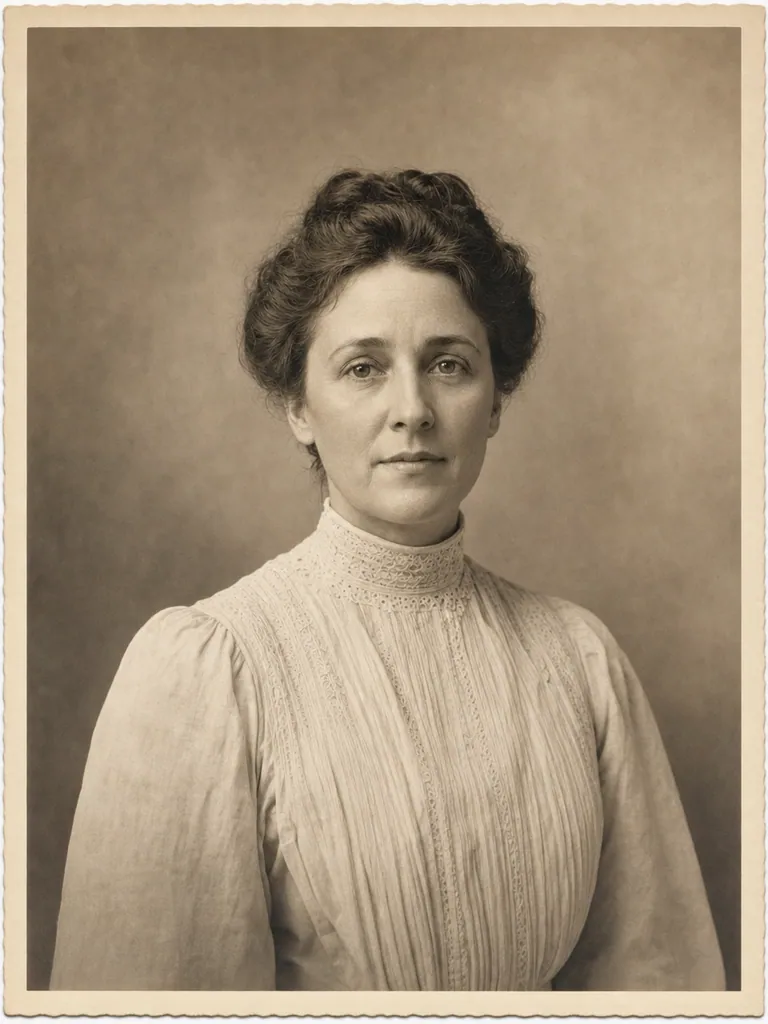
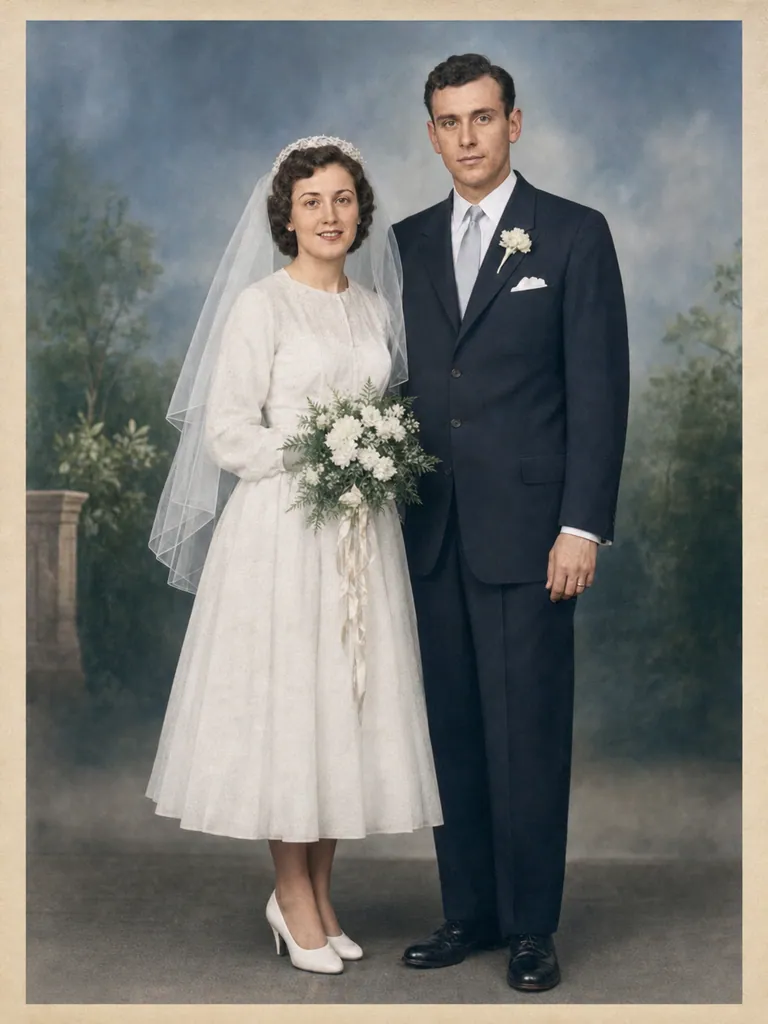
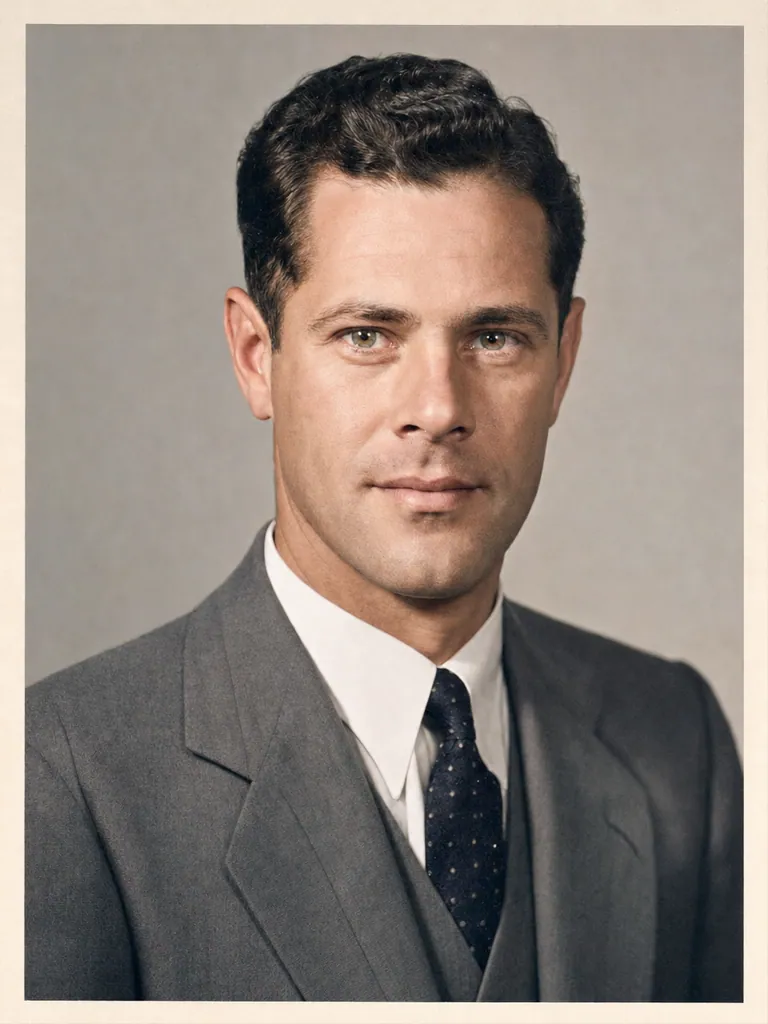
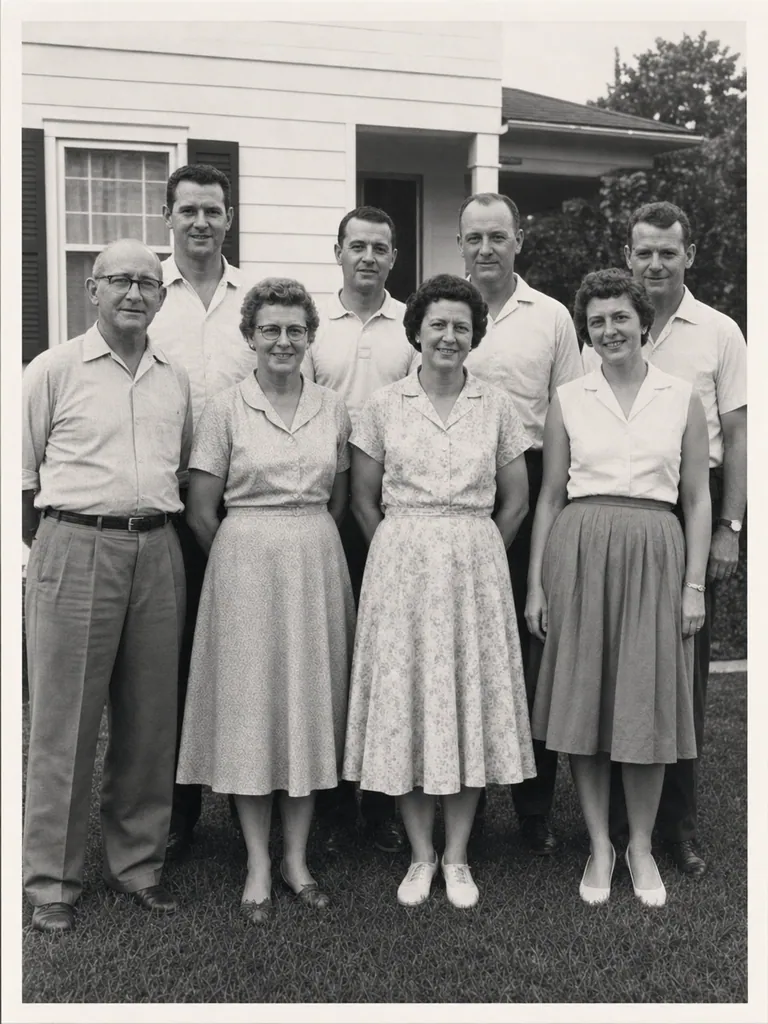
Seven published output images show monochrome, sepia and color finishes. They are not side-by-side evidence that missing detail or identity was recovered.
How to use AI old photo restoration
- Scan the whole print or photograph it straight-on in soft light. Avoid glare and crop out the album page or frame; upload one image you have permission to edit.
- Choose Light: dust and fading, Moderate: scratches and creases, or Heavy: tears and missing areas. Select Keep original tones or Add natural color.
- Sign in with an available creation, then select Restore this photo. Compare every face and reconstructed area with the original before downloading. Keep the original file as your reference.
A flat scan or straight-on phone photo, no glare. Your upload stays private by default.
Choose a damage level for old photo restoration
The Damage level control has three labelled choices: Light: dust and fading, Moderate: scratches and creases, and Heavy: tears and missing areas. Choose the one that describes visible damage in the source. A higher setting asks for more filling; it does not establish that the model has found more historical information. Start old photo restoration by identifying the areas that need attention, so you can compare those same places with the output instead of judging only its overall neatness.
For dust or fading, inspect the surface and tonal treatment after generation. For scratches, creases or tears, pay particular attention where damage crosses a face, clothing edge or small object. Those areas require more interpretation than an uninterrupted background. Old photo restoration can produce plausible new texture, but a smooth repair does not prove the missing detail was recovered. Keep uncertainty attached to reconstructed areas even when they blend convincingly into the surrounding image.
Choose original tones or interpreted color
Color offers Keep original tones and Add natural color. Keep original tones requests the source's color treatment, making it the more direct choice when you want to compare a monochrome or sepia family photograph in that treatment. It is still a generated version, so inspect faces and textures. The color control sets a direction for old photo restoration; it does not turn the process into a verified reconstruction of every original tone or surface detail.
Add natural color asks the model for plausible color in skin, clothing and surroundings. That can create a different keepsake, but the result cannot prove what a dress, uniform or house actually looked like. Use reliable family records if historical color matters. The gallery's monochrome and color wedding pictures help you compare visible finishes without establishing source fidelity. Keep a colorized version labelled as an interpretation, alongside the original photograph and any other reference you already have.
Prepare a clear scan for old photo restoration
Use the highest-quality scan you have, or photograph the print straight-on in soft light. Keep the print flat and avoid glare, which can hide facial information or surface damage. Include the whole photograph, then crop out an album page or frame rather than cutting away meaningful people or edges. Old photo restoration starts with one uploaded image, so choose the clearest available source and keep an untouched copy before making a crop for the upload.
Inspect the source before generating. Check whether each person's eyes and face outline are actually visible. Enlarging a tiny face does not create reliable information that was absent from the file. If a better scan or another copy of the print exists, it may provide a stronger reference. Preserve the original file so every generated version can be compared against the same unaltered family record.
Compare faces before judging the cleaner surface
Review old photo restoration with the original beside the output. Count the people first, then compare each face, including the eyes, mouth and outline of the head. In a group photograph, work across the people one at a time so a small face is not overlooked. A cleaner picture can appear more convincing while changing someone's features. Pay extra attention to relatives whose faces were already distant, blurred or crossed by damage in the source.
After faces, inspect clothing, hands, small belongings and the boundaries of reconstructed areas. Look for new shapes, repeated textures or details that the original cannot support. Separate what you can compare from what remains uncertain; an invented button or filled corner should not become a family fact just because it looks plausible. Keep the new image as another version of the photograph, and retain the source for anyone who wants to assess the changes later.
Read the gallery as output examples with limits
The seven published images include monochrome, sepia and color finishes. You can inspect a wedding couple, an outdoor snapshot, individual studio portraits and a group of seven adults. These old photo restoration examples show what is visible in each output, but the page does not present the damaged source beside every result. A clear sepia portrait alone cannot establish that a tear was repaired faithfully, and a sharp face cannot prove missing facial detail was recovered.
Use the gallery to build a review habit for your own old photo restoration. The group image suggests checking every small face; the outdoor scene offers clothing and foliage to compare; the wedding pictures show why color needs its own judgment. Avoid inferring a damage level or a successful repair merely from a case title. For your photograph, the meaningful evidence is the comparison with the source you uploaded, together with any reliable records your family already holds.
Old photo restoration questions
Which damage level should I choose for old photo restoration?
Match the label to the visible source: Light for dust and fading, Moderate for scratches and creases, or Heavy for tears and missing areas. Higher levels fill more and can introduce more reconstructed content. They do not promise a more faithful family record. Inspect damaged regions after generation, especially where a scratch or tear crosses a person, and compare them with the original rather than relying on the setting name.
Can AI old photo restoration recover a missing face?
A model cannot establish missing facts from the photograph alone. It may create a plausible face in a damaged area, but that does not identify the person or recover their actual appearance. Very small or blurred faces also provide limited information. Preserve the original and seek another photograph or reliable family reference if identity matters. Do not treat a convincing reconstructed portrait as evidence of what the relative looked like.
Should I keep original tones or request color?
Choose Keep original tones when you want the source color treatment requested in the new version. Choose Add natural color when you want an interpreted color keepsake. Neither choice verifies absent historical information. Check faces and details in both cases, and compare new colors with reliable records if available. Save the original separately so a colorized image can remain a clearly identified creative version rather than replacing the family photograph.
Can I use a photograph of a relative who has passed away?
You can upload an old family photograph you have permission to edit. The page creates a still image and has no animation control or control for adding or removing relatives. Review the people in the output carefully, including anyone standing at an edge or partly hidden in the source. An emotionally meaningful result still needs comparison; decide what feels appropriate to share with family while keeping the original available.
Does comparing two successful versions use two creations?
Each successfully delivered image uses one creation. Generating an original-tone version and then a colorized version successfully therefore uses two. A completed result that you dislike is still a delivered image; confirmed technical failures return their creation. Plan the comparison before generating, and review the first result against the source before deciding whether another version would help. Save the original with both outputs so differences remain easy to trace.