Fun photo formats · Image play
Create an AI photo booth strip from one selfie
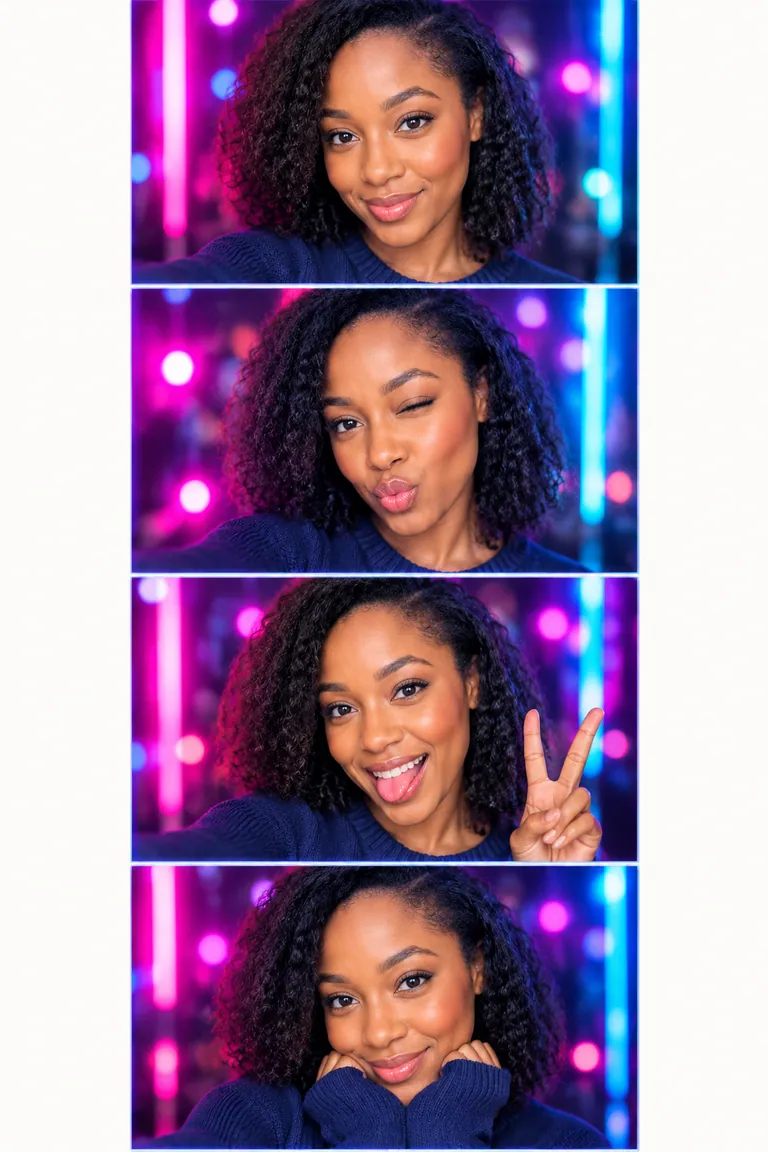
Create a photo booth strip from one clear selfie. Choose Classic black-and-white, Color party booth or Vintage sepia, then select three or four frames. The generator creates variations in expression and pose within a new image. Review every face and the frame arrangement before keeping the strip. Backgrounds, borders and layout can vary, so use the examples to understand the range of results.
Create yours
One clear face selfie. Children only with parental consent; wholesome strip only — no NSFW. This is a digital AI strip, not an offline booth rental.
Best input:
A sharp front-facing adult selfie with the whole face visible.
Skip sunglasses, masks, and group crops — one face per strip works best.
Enable JavaScript to upload privately and create your image.
Photo booth strip examples
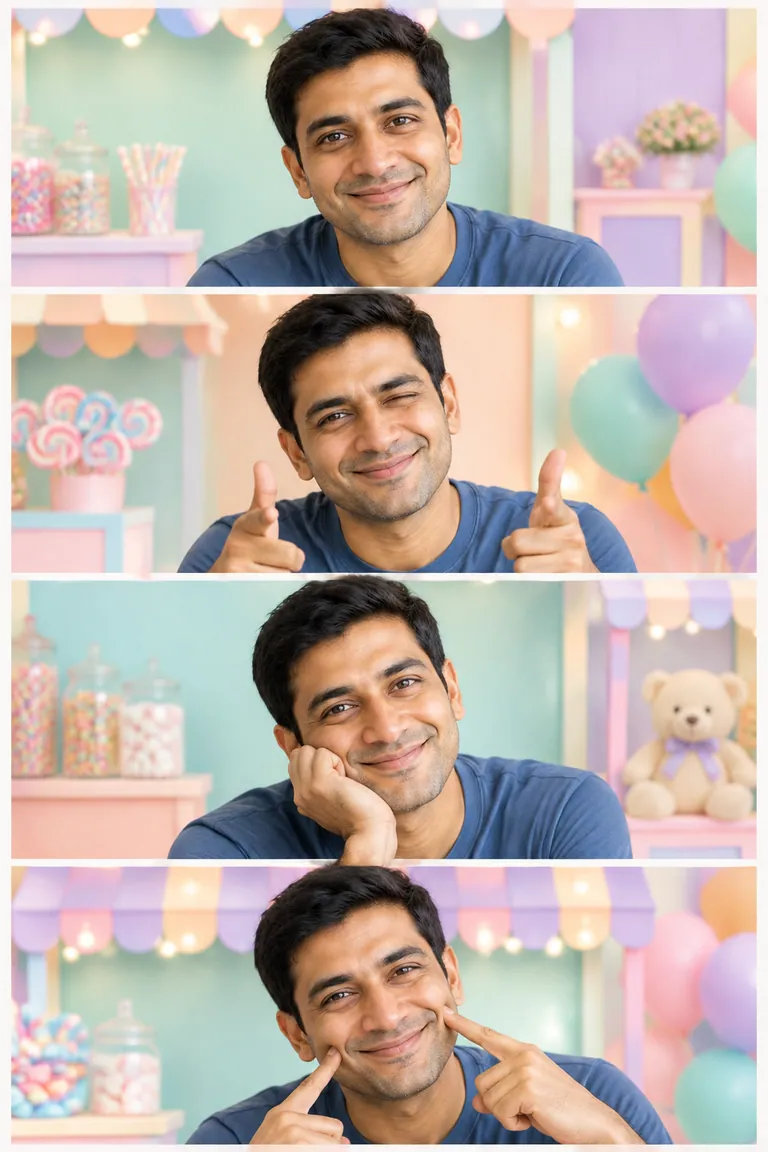
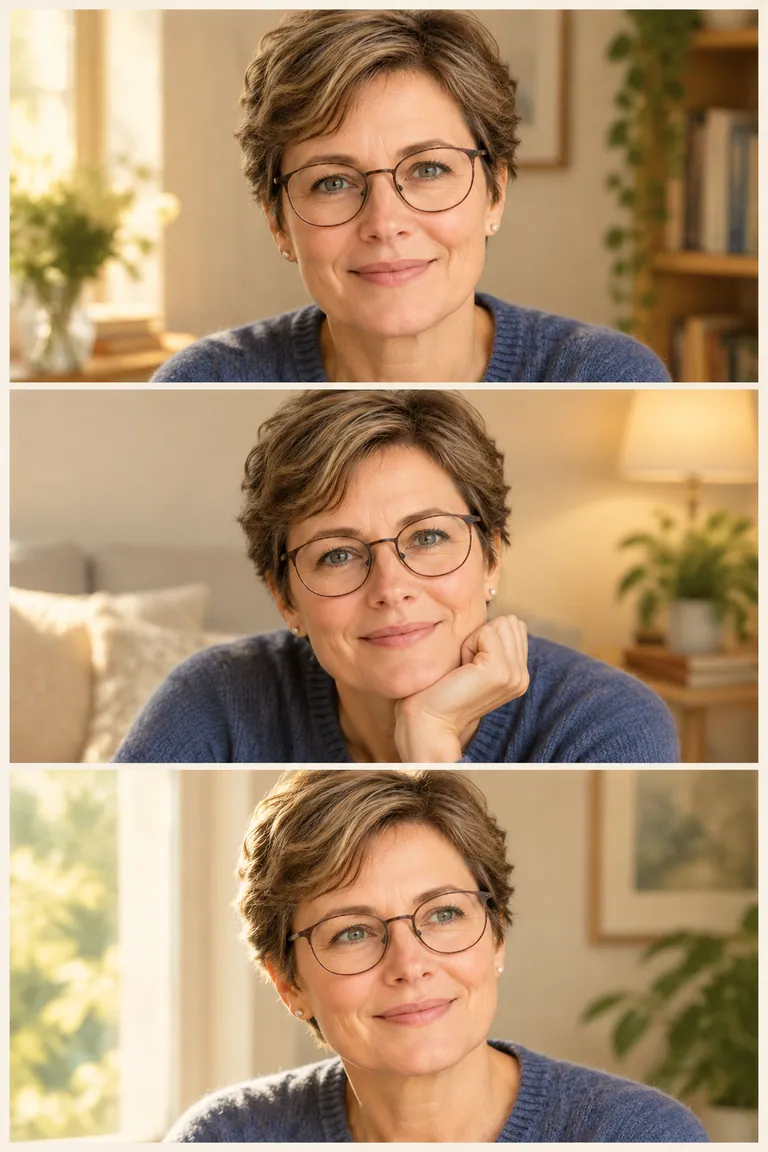
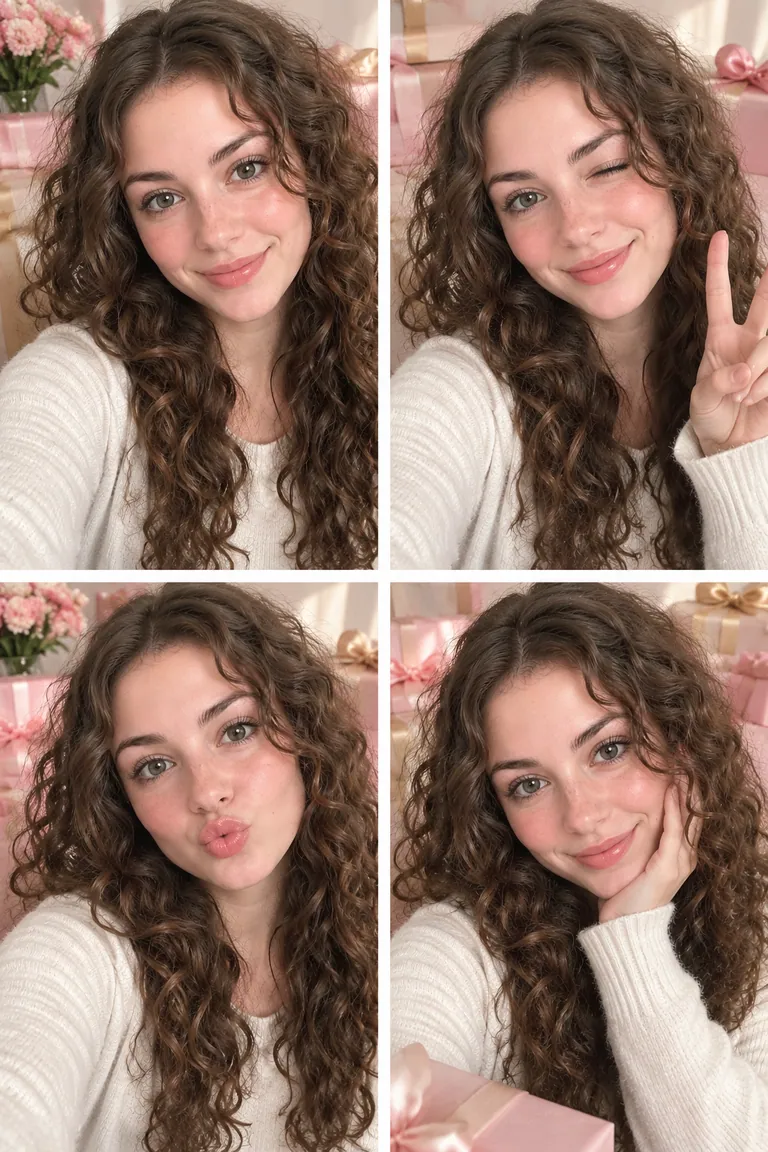
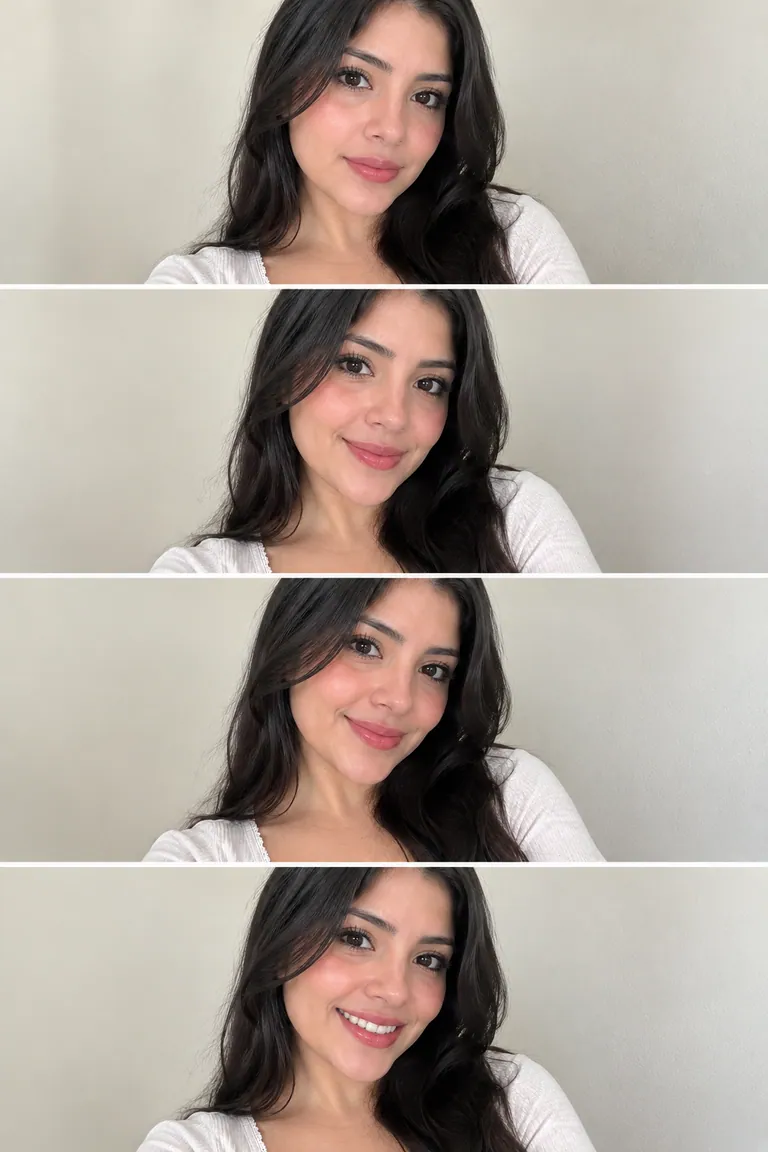
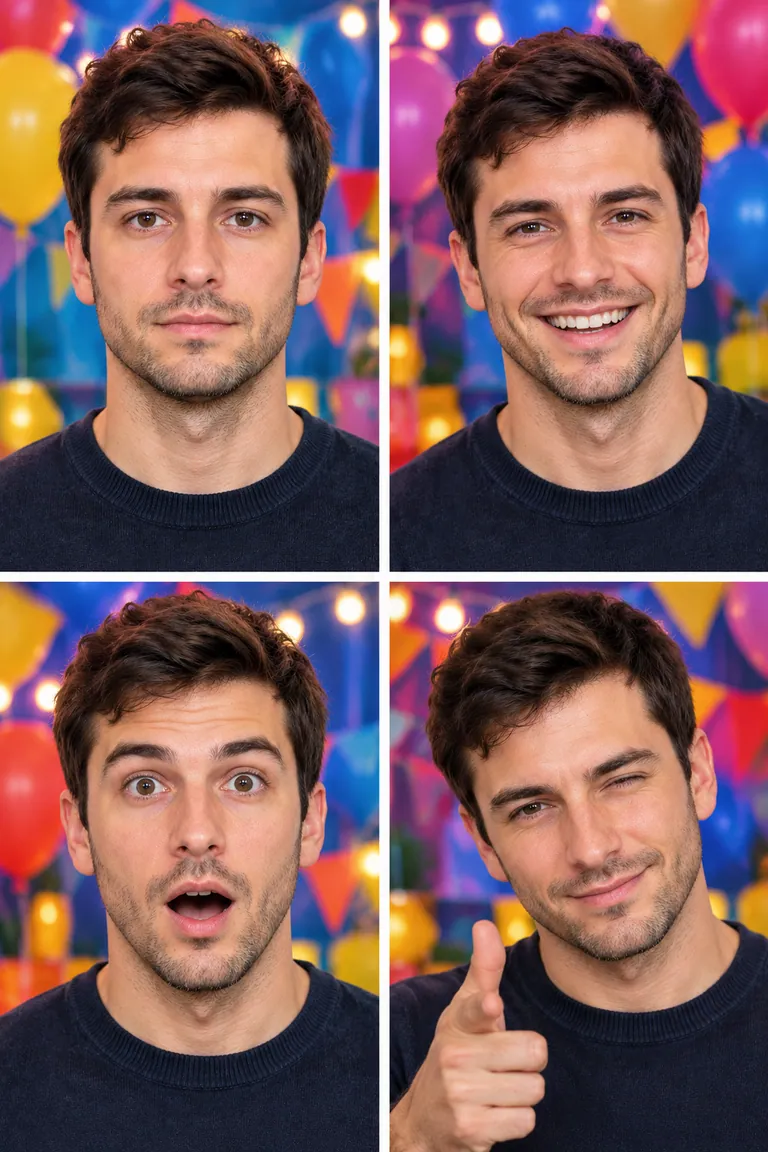
Six published outputs show color, expression and layout variations. The visible controls offer black-and-white, color party or vintage sepia; gallery backgrounds are not separate presets.
How to create a photo booth strip
- Upload one clear selfie with one visible face. Use a photo you have permission to edit; avoid group shots and faces hidden by sunglasses.
- In Strip look, choose Classic black-and-white, Color party booth or Vintage sepia. In Frames, choose 3 frames or 4 frames. The how-to artwork is illustrative; its pictured looks are not additional controls.
- Sign in with an available creation, then select Create my booth strip. Check likeness, frame count and arrangement before downloading; gallery examples include stacked and 2-by-2 layouts.
One clear face selfie. Children only with parental consent; wholesome strip only — no NSFW. This is a digital AI strip, not an offline booth rental.
Choose a clear selfie for your photo booth strip
Start a photo booth strip with one visible face, large enough to inspect without zooming into a tiny crop. A sharp, front-facing selfie with even light gives you a useful reference for the repeated portraits. Keep eyes, mouth, hair and chin visible. Sunglasses, masks and heavy beauty filters hide or change details you will need later when comparing the generated faces with the person in the uploaded photograph.
Leave a little space around the head so the source includes the full hairstyle rather than an accidental crop. A neutral or familiar expression gives you a straightforward reference, although the finished panels may show different expressions. Use a photograph you have permission to edit, with parental consent for a child's image. The current guidance is for a single person; putting two faces into the upload does not establish a supported two-person mode.
Choose the finish in Strip look
Strip look offers Classic black-and-white, Color party booth and Vintage sepia. Choose the monochrome direction if you want the photo booth strip to focus on light and expression. The color direction gives the generated setting a more colorful treatment, while sepia requests a warm, vintage finish. These choices guide the whole image. They do not select a particular backdrop, border design, clothing color or individual panel's lighting separately.
Compare the visible examples for the range of treatments rather than searching for an exact template to copy. Neon lights, balloons, pastel colors and pale walls appear in gallery images, but they are not additional Strip look options. A photo booth strip can also differ from the sample in background detail and color. After generating, judge whether the actual finish suits your purpose instead of relying only on the selected setting's name.
Check the frame count and actual arrangement
The Frames selector offers 3 frames and 4 frames, with four selected by default. Choose the requested count before creating your photo booth strip, then count the panels in the result. The control supplies a direction for generation rather than an editable collection of frame boxes. Choosing fewer panels does not provide a separate setting for larger faces, and choosing four does not specify the exact shape of the composition.
There is no independent layout control on this page. Published outputs include vertical stacks and 2-by-2 grids, so a narrow photo booth strip is not a guaranteed arrangement. If a specific format matters for a card, scrapbook or print, inspect the completed image before planning around it. Check whether the panels are distinct, whether borders cut through faces and whether the overall layout fits the space where you intend to use it. When viewing a grid, inspect all four corners rather than reading only the first column.
Review every face in the photo booth strip
Read a photo booth strip panel by panel rather than approving it after looking at the first portrait. Compare eye shape, nose, mouth, hairstyle and apparent age with the selfie. Then compare the panels with each other. Expressions and poses can change, but the sequence should still feel like the same person to you. A strong first frame does not establish that the remaining generated faces are equally convincing.
Look at smaller details after the face check: glasses, earrings, hands near the chin and the edges of hair against the background. Repeated accessories can change shape between panels, and a playful pose can produce awkward fingers or overlaps. There is no control for ordering an exact series of expressions. Assess the sequence you receive on its own, and keep it only when both the individual portraits and their relationship across the image work. Include the smallest panel in this check before approving the complete image.
Save the digital image before planning a print
Your photo booth strip is one digital image containing the generated panels. Before saving it for a keepsake, review the complete composition at a size where you can inspect faces and borders. Check that the chosen finish, requested panel count and actual layout suit your idea. A gallery example shows one possible result, so do not assume your downloaded file will match its crop, proportions or arrangement of frames.
For printing, inspect the downloaded file's pixel dimensions and choose a physical size that suits its resolution. Preview the crop and margins in your own printing workflow, especially if a printer automatically fills the paper. Keep faces away from any proposed trim edge. This page does not specify a fixed print size, supply physical prints or connect to a booth printer, so plan the final paper format after reviewing the actual image.
Photo booth strip questions
Can two people appear in one photo booth strip?
The current input guidance and examples are for one visible person in one selfie. A gallery case described as a gift still shows a single person, so its name does not establish a couple or friends mode. Use a clear individual reference for this format. If you want several people in one artistic keepsake, start with a group-photo experience designed around a shared reference instead.
Can I choose three frames, four frames or a fixed layout?
Frames provides 3 frames and 4 frames. It does not provide a separate arrangement selector, and published images include both stacks and grids. Count the panels and inspect the finished photo booth strip before using it. If your purpose requires a narrow vertical composition, do not infer that shape from the selected count; verify the actual result before saving it for that purpose.
Does a photo booth strip contain separate camera photographs?
The panels are AI-generated variations guided by one uploaded selfie. They are not separately captured moments from a camera session. Expressions, poses and small facial details may change during generation, and the controls do not let you script a precise expression sequence. Compare all of the faces with the reference and with one another, including panels that appear smaller or less prominent in the composition.
Is this software for running a live event booth?
This page creates a downloadable photo booth strip from an uploaded image. It does not operate a camera kiosk, organize an event queue, rent equipment or manage on-site printing. You can make a personal digital keepsake here by choosing a finish and frame count. An event setup that needs cameras, guests and physical prints requires a separate workflow outside the controls available on this page.
Can I print my downloaded photo booth strip?
You can use the downloaded digital image in your own printing workflow after checking its size and quality. Inspect pixel dimensions, preview the crop and confirm the intended paper dimensions before printing. No particular physical size or print quality is promised here. Remember that a result may use a grid, so plan around the actual arrangement rather than assuming it will fit a standard narrow strip holder.